A Comprehensive Guide to Using Thermoplastic for Stone Setting in Jewelry

A Comprehensive Guide to Using Thermoplastic for Stone Setting in Jewelry
Jewelry 101: Mastering Thermoplastic for Secure Stone Settings
The art of jewelry making relies on precision, creativity, and the right tools. One essential skill every jeweler should master is using thermoplastic for stone setting. This guide will walk you through everything you need to know about thermoplastic, including its uses, benefits, and step-by-step instructions for incorporating it into your jewelry projects.
What is Thermoplastic and Why is it Used in Jewelry Making?
Thermoplastic is a versatile material used to securely hold gemstones and beads during the jewelry-making process. It acts as an adhesive, similar to glue, but with the advantage of being easily removable without leaving residue.
When heated, thermoplastic becomes soft and moldable, allowing jewelers to shape and secure their designs effortlessly. Once cooled, it hardens into a firm structure, holding everything in place. Its flexibility and ease of reuse make it an indispensable tool in any jeweler's workshop.
Common Thermoplastic Options for Jewelry Making:
- Jett Basic Fixturing Compound by Rio Grande
- Thermo-Loc by GRS
Key Uses of Thermoplastic in Jewelry Making
Thermoplastic serves multiple purposes in jewelry crafting, including:
- Setting gemstones securely into place
- Holding pieces steady while drilling
- Stabilizing pendants, bracelets, and rings
- Minimizing vibrations during delicate tasks
- Preventing deformation of jewelry during stone setting
With these benefits, thermoplastic simplifies the intricate process of stone setting, ensuring your designs are both beautiful and structurally sound.
Step-by-Step Guide: How to Use Thermoplastic for Stone Setting
Follow these steps to master the use of thermoplastic for setting stones into your jewelry pieces.
Step 1: Prepare Boiling Water
Start by pouring hot water into a heat-resistant glass jar or crockpot. Avoid plastic containers, as they can melt or stick to the thermoplastic.
Step 2: Add Thermoplastic Beads
Add 1-2 tablespoons of white thermoplastic beads into the hot water. After 20 seconds, the beads will soften into a transparent, moldable blob. Use a spoon or tongs to handle the hot material safely.
Step 3: Mold the Thermoplastic
Once cool enough to handle, shape the thermoplastic into a ball and press it into a T-shape. Use a wet ring clamp to ensure the base is straight and secure.
Step 4: Harden the Mold
Dunk the molded thermoplastic into ice water to harden and set the shape.
Step 5: Secure the Jewelry Piece
Gently reheat the thermoplastic base in hot water for a few seconds, then press your pendant or base metal into it. Ensure the edges are flush and level with the thermoplastic.
Step 6: Final Cooling
Submerge the secured piece into cold water for 10-20 seconds to solidify the setup.
Step 7: Set Your Stones
Place the thermoplastic-secured jewelry piece into a ring clamp or appropriate holder. Carefully set your gemstones, ensuring precision and stability.
Step 8: Clean and Reuse
To remove the jewelry from the thermoplastic, place it back into hot water. Once the thermoplastic softens, gently pull the piece free. Any residue can be carefully removed with a toothpick.
Cleaning Up and Reusing Thermoplastic
Thermoplastic is reusable, making it both cost-effective and environmentally friendly. After removing your piece, reheat the thermoplastic in boiling water and reshape it for your next project.
Final Thoughts
Thermoplastic is a game-changing tool for jewelers, offering unmatched precision, flexibility, and ease of use. Whether you're setting gemstones in rings, earrings, or pendants, thermoplastic ensures your designs remain stable and flawless throughout the crafting process.
Keep this guide handy as you refine your skills, and you'll soon find thermoplastic to be an indispensable part of your jewelry-making toolkit!
Leave a comment
Comments will be approved before showing up.
Also in Articles

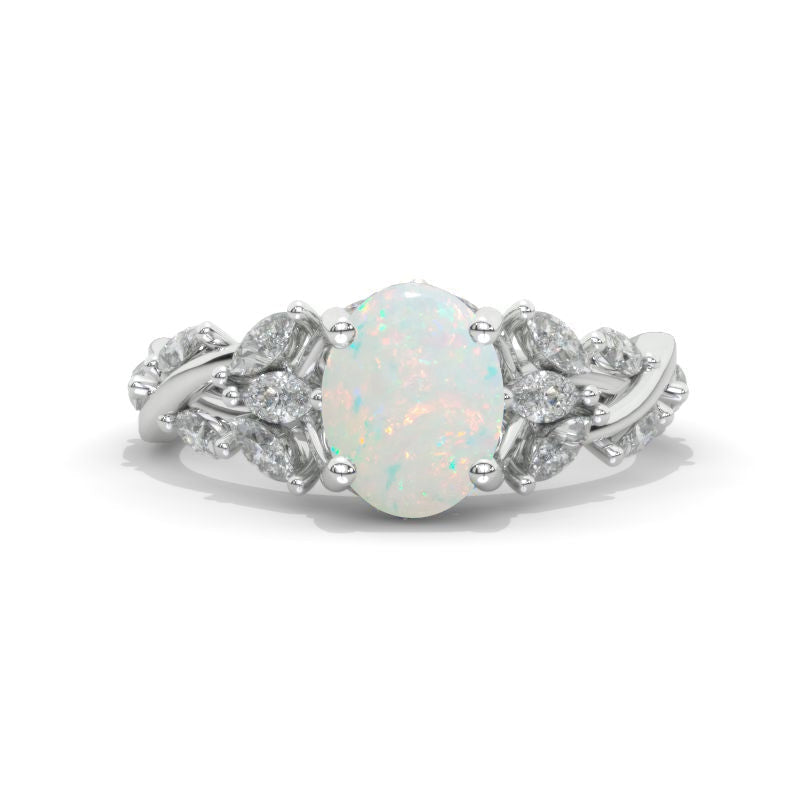 White Opal — The Radiant October Birthstone of Light and Mystery
Why Choose White Opal for October
White opal symbolizes light, purity, and emotional depth, making it the perfect gift for anyone born in October — or for anyone drawn to its cosmic radiance. Whether you choose a handcrafted opal ring, a dainty opal pendant, or a pair of opal earrings, this gemstone always stands out as a statement of individuality and grace.